
You’ve prepped meals for the week, but stale greens and soggy grains sneak in by day three. You want your food to stay fresh longer so you’ll actually eat what you made. This simple guide shows you exactly how to store meal prep containers to keep food fresh longer with practical habits and fast tweaks you can implement today.
Read on and you’ll learn what tools to buy, how to cool and layer food, airtight tricks, and quick refresh tips to extend freshness and flavor.
What You'll Need for Storing Meal Prep Containers
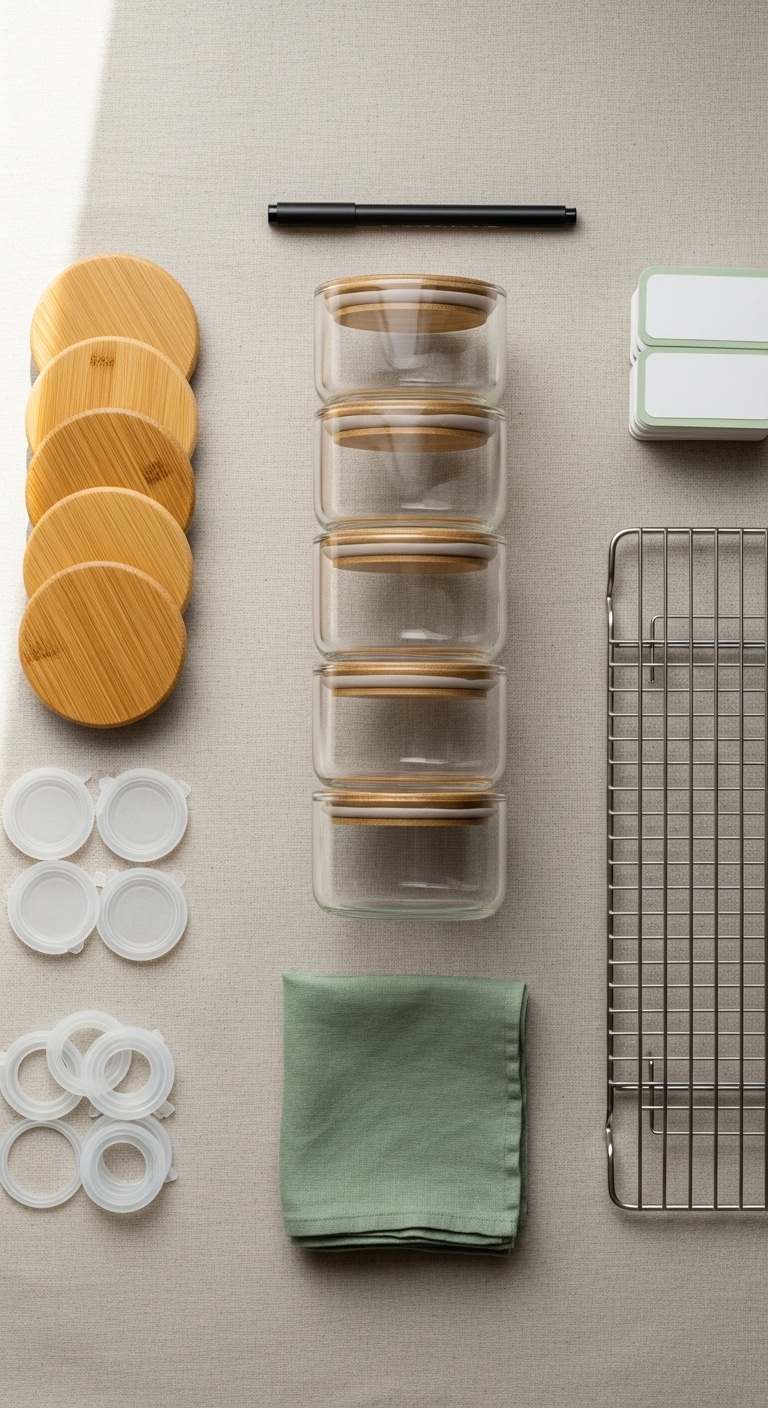
Gather the right gear first. Choosing quality containers and labels makes storing meal prep containers to keep food fresh longer a lot easier.
- Glass containers with airtight silicone seals (recommended sizes: 3 x 700 ml, 2 x 1,200 ml)
- Bamboo or snap-on lids to avoid warping
- Reusable silicone bags for dressings and snacks
- Permanent marker or labels for dates
- Cooling rack to cool hot foods quickly
Tip: Use clear glass so you can see contents at a glance. Label with prep date to rotate meals easily.
Cool, Dry, and Separate: Getting Started

Let food cool properly before sealing. Trapping heat raises humidity and spoils food faster, so this step matters when storing meal prep containers to keep food fresh longer.
- Move hot dishes to a cooling rack for 15–30 minutes.
- Break large batches into smaller portions to speed cooling.
- Pat leafy greens dry with paper towels to remove excess moisture.
Warnings:
- Do not put piping hot food directly in an airtight container.
- Avoid mixing wet dressings with salads until serving.
Quick pro tip: Place warm containers in an open fridge shelf briefly to finish cooling before sealing.
Step-by-Step Storage Tips for Longer Freshness

Follow these steps when storing meal prep containers to keep food fresh longer. Small habits add up to days of extra freshness.
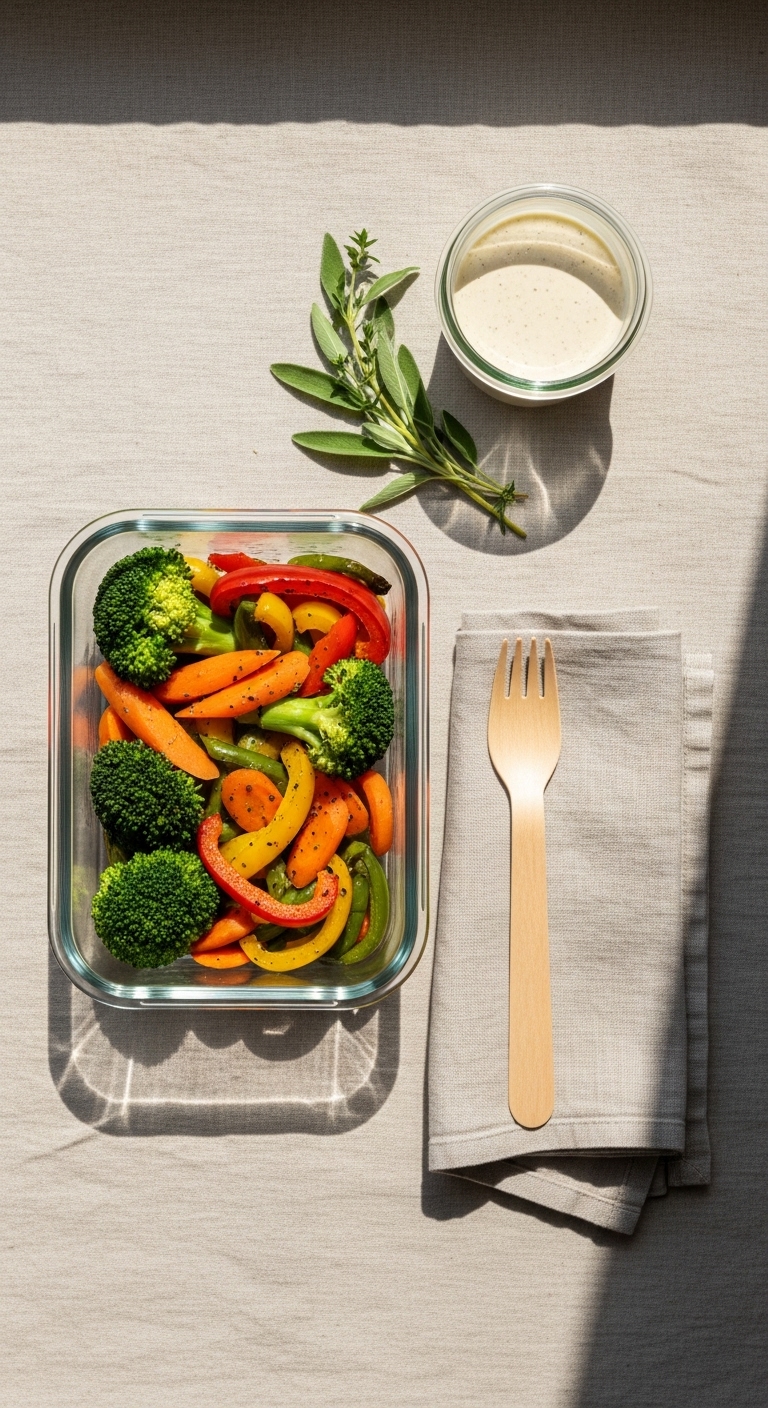
- Layer smartly:
- Place dressings or sauces in separate small jars or silicone bags.
- Keep crispy toppings in a separate container.
- Pack by temperature:
- Cold foods on top shelf of fridge.
- Cooked proteins and grains on lower shelves.
- Seal and label:
- Press lids until you hear a click or check the silicone seal.
- Write prep date and use by date (usually 3–5 days for refrigerated meals).
- Organize the fridge:
- Use a designated meal-prep shelf.
- Store older meals in front to use first.
Storage times:
- Cooked grains/beans: 3–4 days
- Cooked proteins: 3–5 days
- Leafy salads (without dressing): 3–4 days
Save time: stack containers in uniform sizes to maximize fridge space and speed cool-down.
Troubleshooting & Quick Refresh Tricks
If meals seem tired after a couple of days, use these fast fixes to make them taste fresh again.
- Re-crisp stale vegetables: saute for 2–3 minutes or roast at 425°F (220°C) for 5–7 minutes.
- Revive grains: sprinkle 1–2 tbsp water per cup and microwave covered for 30–45 seconds.
- Replace soggy toppings: toast nuts and seeds for 3–4 minutes and add right before eating.
- Check smell and texture: discard anything with off-odor, slimy texture, or mold.
Common mistakes:
- Sealing warm meals
- Mixing wet and dry components prematurely
- Overfilling containers (leave ½ inch headspace for airflow)
Use these quick refreshes to avoid waste and keep weekly meals enjoyable.

You’ve now got a simple routine that helps you store meal prep containers to keep food fresh longer. With the right containers, cooling habits, and smart layering, your meals will taste better and last through the week. Pin this guide for your next weekly meal prep! Save this for later and share with friends who meal prep—Which tip will you try first? Ready to make this happen? Let's do it!