
You love protein waffles, but hate when they go soggy after a few minutes. You want crisp edges and a tender, protein-rich interior every time. This step-by-step guide shows you exactly how to make protein waffles that stay crispy, with smart ingredient swaps, batter tricks, and waffle-iron timing so you'll get consistent results.
Read on and you'll learn what to use, how to mix and cook, quick fixes for common problems, and storage tips that keep waffles crisp for reheating. These are practical, pin-ready steps you can try this weekend.
What You'll Need (Ingredients + Tools)
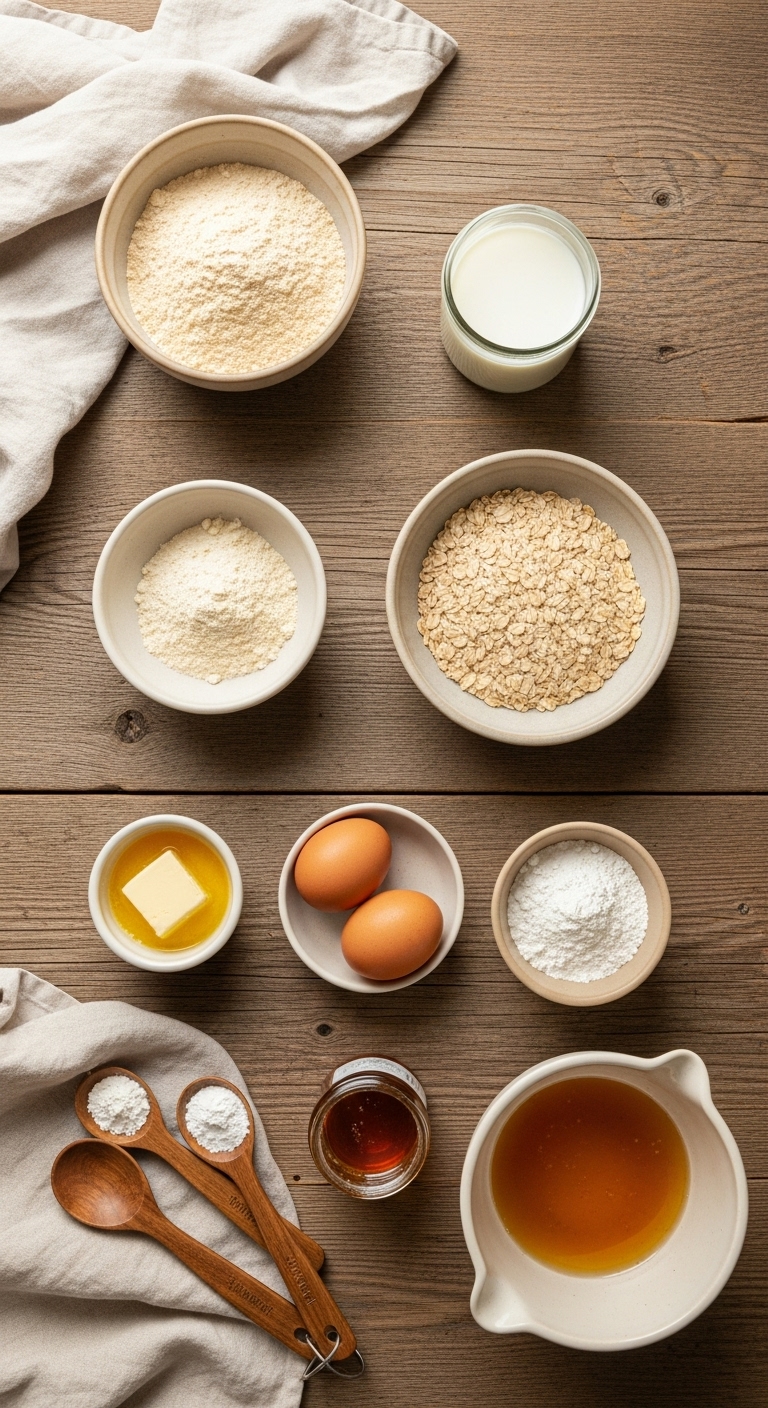
- Ingredients:
- 1 cup rolled oats (or 3/4 cup oat flour)
- 1/2–3/4 cup protein powder (vanilla or unflavored)
- 2 tsp baking powder
- 1/4 tsp salt
- 2 large eggs
- 1 cup milk or milk alternative
- 2 tbsp melted butter or oil
- 1 tbsp honey or maple syrup (optional)
- Tools:
- Waffle iron, whisk, blender or mixing bowl
- Cooling rack and baking sheet (critical for crisping)
- Tip: Use a whey or blend protein powder for best texture. Plant protein can work, but you may need extra moisture.
Preparing Your Ingredients

- Grind oats into flour if you prefer a finer texture.
- Whisk dry ingredients (protein powder, oat flour, baking powder, salt) first to avoid clumps.
- Combine wet ingredients separately: eggs, milk, melted butter, honey.
- Slowly add wet to dry while whisking, or pulse briefly in a blender.
- Batter should be slightly thicker than conventional waffle batter — about the consistency of pancake batter. If it's too thick, add 1–2 tbsp milk at a time.
Helpful note: Let the batter rest 5 minutes to hydrate the oats and protein. This improves texture and helps waffles crisp.
Cook Step-by-Step for Crispy Waffles
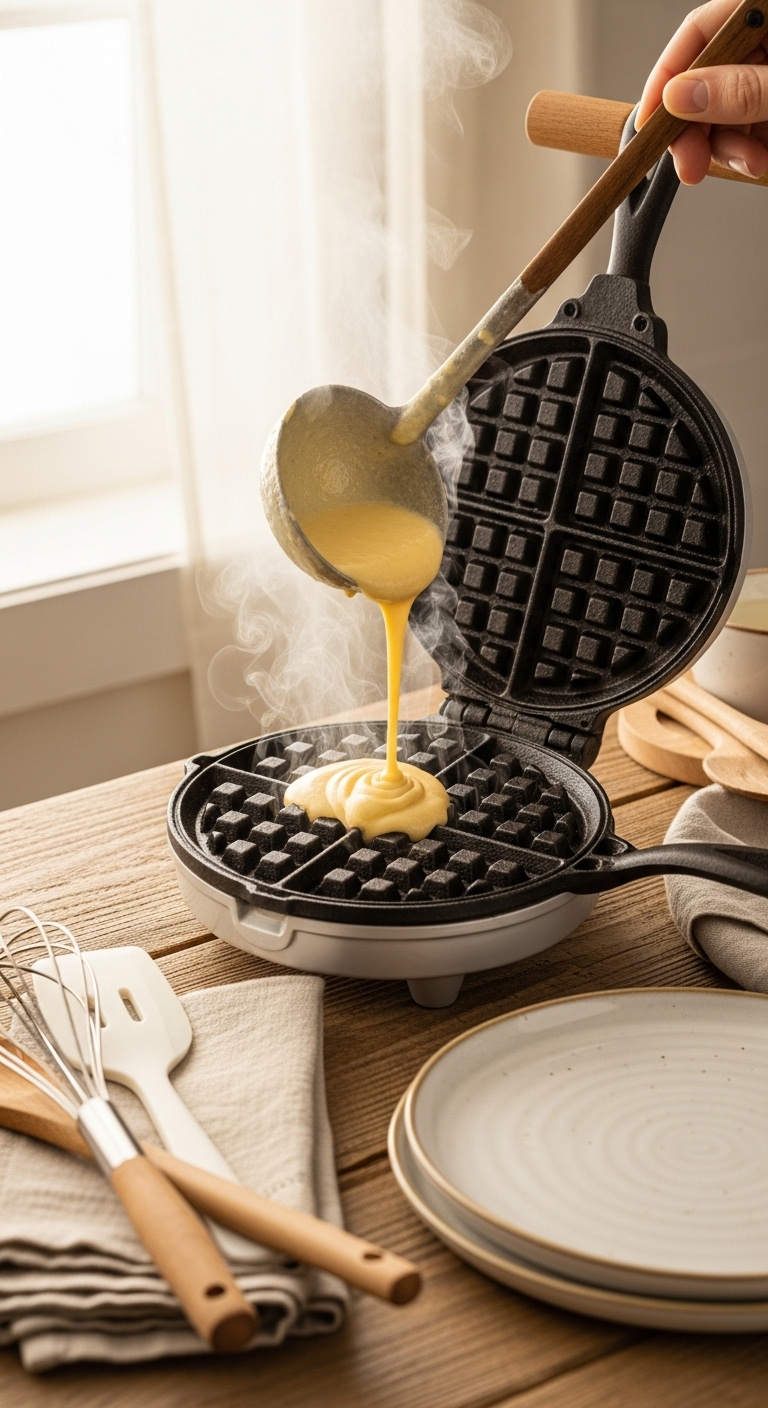
- Preheat the waffle iron fully; a hot plate locks in crispness.
- Lightly oil the plates with melted butter or neutral oil.
- Pour the recommended amount per your iron (usually 1/3–1/2 cup) and close the lid.
- Cook 1–2 minutes longer than normal — don’t lift the lid early. For protein waffles, extra time creates a crisper crust.
- Transfer each waffle immediately to a cooling rack set over a baking sheet. This prevents steam from making the bottom soggy.
- Keep finished waffles in a single layer on the rack while you cook the rest.
Quick tips:
- Avoid stacking hot waffles; that traps steam.
- If your waffles seem dense, add 1/4 tsp baking soda when using acidic yogurt or buttermilk.
Troubleshooting and Variations

- Problem: Waffles are chewy not crispy.
- Fix: Increase cook time by 30–60 seconds and ensure iron is fully hot.
- Problem: Batter sticks to plates.
- Fix: Re-oil plates and allow oil to heat before adding batter.
- Want fluffier waffles?
- Option: Separate eggs, whisk whites to soft peaks, fold in for extra lift.
- Add-ins: Fold in 1/4 cup chocolate chips or blueberries. Reduce liquid by 1–2 tbsp if adding wet fruit.
Serving and Storage Tips

- To serve: Keep waffles on the cooling rack until all are ready, then serve warm.
- To store: Cool completely, then stack with parchment between waffles. Refrigerate up to 2 days, freeze up to 3 months.
- To re-crisp: Reheat frozen or refrigerated waffles in a toaster, oven at 350°F (175°C) for 8–10 minutes, or air fryer at 375°F for 3–5 minutes.
- Make-ahead hack: Freeze individually on a tray, then bag. Reheat straight from frozen for best crispness.
You can now make protein waffles that stay crispy and taste like weekday comfort. Try the bake-and-rack method and use a hot iron — those two changes alone will change your results. Pin this guide for your next breakfast, save it for busy mornings, and share with friends who love a crunchy, protein-packed start. Which tip will you try first? Ready to make this happen? Let's do it!