
You want quick, sturdy bread that holds a sandwich and boosts your protein intake. Protein bread does that—it’s hearty, sliceable, and great for meal prep. This guide shows you how to make protein bread at home using pantry-friendly ingredients, so you can have healthy sandwiches all week.
You’ll learn what to buy, how to prepare the batter, exact bake times, and storage tips. Follow the steps and you’ll slice into warm, protein bread ready for your favorite fillings.
What You’ll Need for Protein Bread (Ingredients & Tools)

Ingredients (makes one 9×5-inch loaf):
- 1 cup almond flour
- 1 cup oat flour (or finely ground oats)
- 1/2 cup unflavored protein powder
- 3 tbsp psyllium husk powder
- 1 tbsp baking powder
- 1 tsp salt
- 4 large eggs
- 1 cup plain Greek yogurt
- 1/4 cup olive oil
- 1/2 cup water
- Optional: 2 tbsp ground flaxseed, 1–2 tbsp seeds for topping
Tools you’ll use:
- 9×5-inch loaf pan lined with parchment
- Mixing bowls, whisk, rubber spatula
- Measuring cups and spoons
- Oven preheated to 350°F (175°C)
Preparing Ingredients for Protein Bread

- Sift or whisk dry ingredients to remove lumps. This helps the batter mix evenly.
- Let the eggs come to room temperature for 10–15 minutes. They’ll incorporate better.
- If using whole oats, blitz them in a blender for 30 seconds to make oat flour.
- Pre-measure wet ingredients so you can mix quickly once the dry mix is ready.
Tip: psyllium husk absorbs a lot of liquid. Measure it carefully and have the water ready to thin the batter if it becomes too stiff.
Step-by-Step Instructions to Bake Protein Bread
- Preheat oven to 350°F (175°C) and line the loaf pan with parchment.
- In a large bowl, whisk together almond flour, oat flour, protein powder, psyllium, baking powder, and salt.
- In a separate bowl, combine eggs, Greek yogurt, olive oil, and water until smooth.
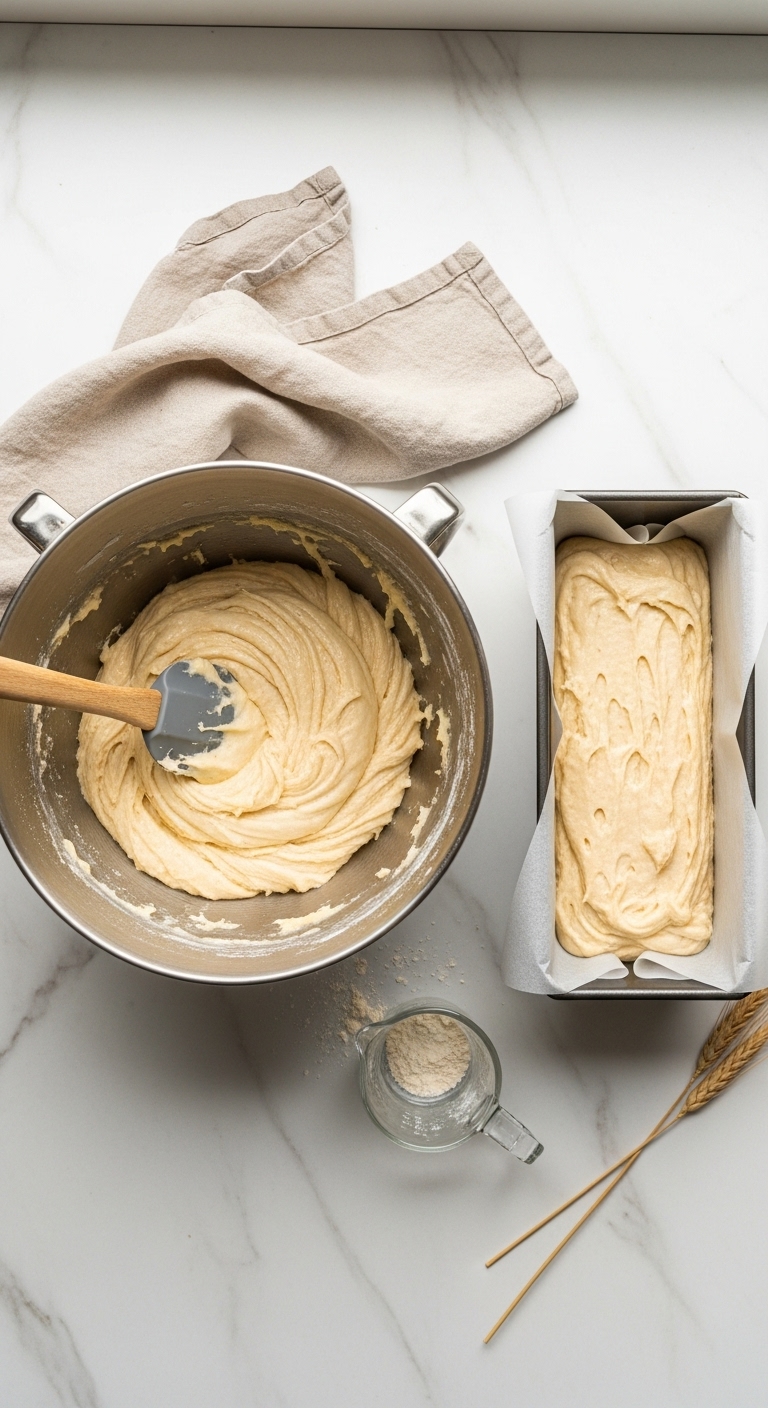
- Pour wet into dry and fold gently with a spatula until combined. Batter should be thick but spreadable.
- Let batter rest 5 minutes so psyllium swells. If too thick, stir in 1–2 tbsp water.
- Spoon batter into the lined pan, smooth the top, and sprinkle seeds if using.
- Bake 45–55 minutes. Check at 40 minutes—a toothpick should come out mostly clean.
- Cool in the pan 10 minutes, then transfer to a rack and cool completely before slicing.
Warnings and pro tips:
- If the loaf sinks, it likely needed more baking time. Don’t slice too early; cooling sets the crumb.
- For a lighter crumb, use a fresh baking powder and don’t overmix.
- For gluten-free variation, ensure your protein powder and oats are certified gluten-free.
Serving, Storage, and Variations for Protein Bread Sandwiches

Serving suggestions:
- Make classic sandwiches: turkey + avocado, tuna salad, or hummus + roasted veggies.
- Toast slices for crisp edges and better spread absorption.
Storage:
- Room temp: store in an airtight container for 2 days.
- Fridge: keep slices for up to 5 days.
- Freezer: slice and freeze in a zip bag for up to 3 months. Toast straight from frozen.
Variations:
- Swap almond flour for cassava or extra oat flour for texture changes.
- Use plant-based protein powder to keep it vegan if you replace eggs with a flax egg mix (experiment—texture will change).
- Add herbs, garlic powder, or grated cheese for savory loaves.
Troubleshooting quick list:
- Too dense: reduce protein powder by 2–4 tbsp or add 1 tsp baking powder.
- Too dry: add 1–2 tbsp water or yogurt before baking.
- Crumbly slices: let loaf cool fully; chill briefly before slicing.
Warm up your sandwich game with this simple, high-protein loaf. Pin this guide for your next meal-prep session and save time during busy mornings. Which filling will you try first? Ready to make this happen? Let’s do it!