
You love protein shakes, but you also want muffins, pancakes, and cookies that pack a protein punch. Learning how to bake with protein powder solves that. This guide shows you how to swap in protein powder, fix texture issues, and bake reliably every time.
You’ll learn what to use, exact ratios, step-by-step baking tips, and storage ideas. Follow these quick, practical steps and you’ll be baking with protein powder like a pro in no time.
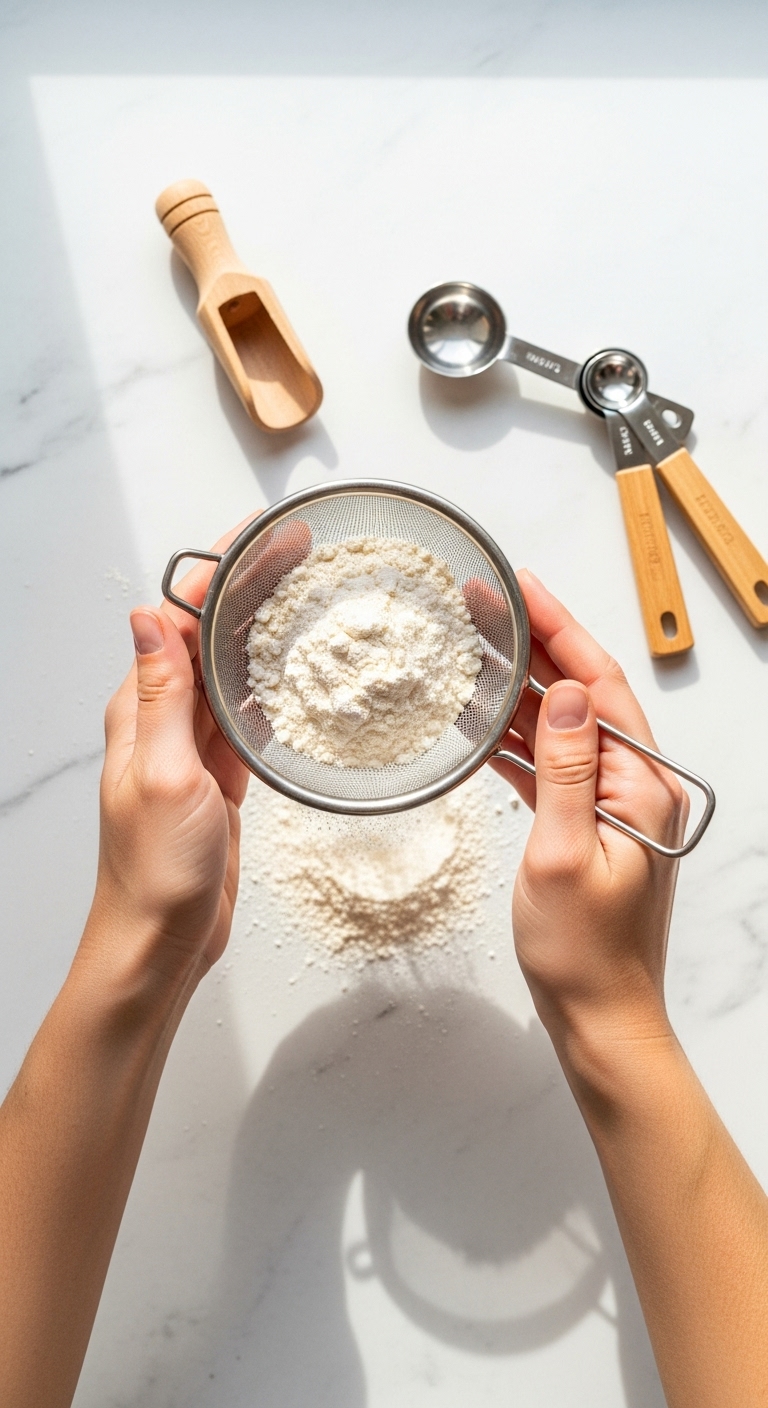
What You’ll Need for Baking with Protein Powder

Start by gathering ingredients and tools so you don’t scramble mid-recipe. When learning how to bake with protein powder, the protein type matters. Whey is fine for most quick breads; plant blends may need extra moisture.
- Ingredients (typical single-batch): 1/2 cup protein powder, 3/4–1 cup flour, 1–2 tsp baking powder, 2 eggs, 1/2 cup milk, 1/4 cup oil or melted butter, 1/4–1/3 cup sweetener.
- Tools: mixing bowls, whisk, measuring cups, spatula, muffin tin or loaf pan, oven preheated to 350°F.
- Tip: If your protein powder is flavored (vanilla, chocolate), reduce extra flavorings accordingly.
Preparing Ingredients: Ratios and Substitutions
Balance protein powder with starch to avoid dry, rubbery results. A good starting ratio is 1 part protein powder : 1.5–2 parts flour or starch.
- If using only protein powder, add 1–2 tbsp extra liquid per 1/4 cup protein powder.
- For gluten-free baking, use a blend like 1/2 cup almond flour + 1/2 cup oat flour with 1/2 cup protein powder.
- Swap eggs for flax eggs (1 tbsp ground flax + 3 tbsp water per egg) but add extra moisture.
- Let wet ingredients come to room temperature for even mixing.
Pro tip: mix dry ingredients thoroughly to avoid lumps of protein powder. This helps when you’re learning how to bake with protein powder and want even crumb.
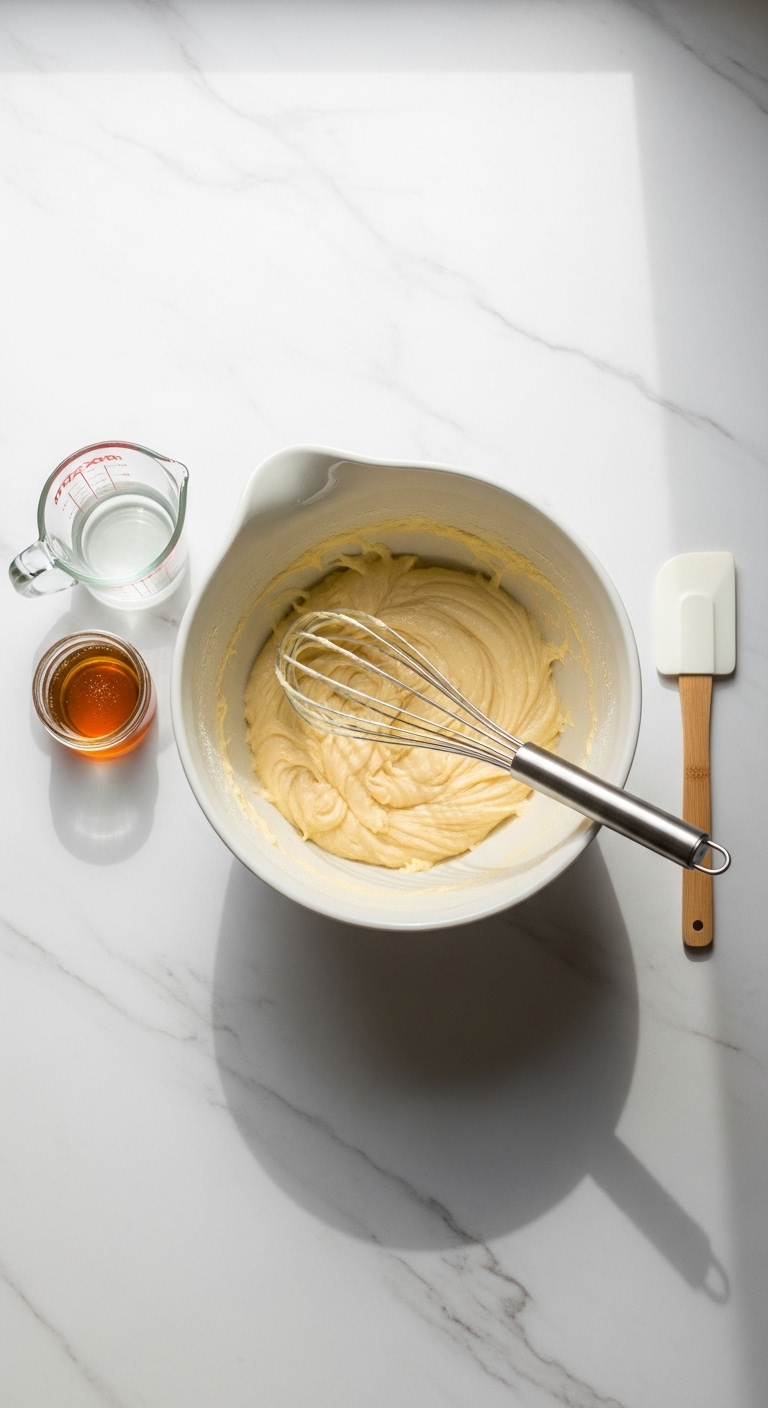
Step-by-Step Instructions for Successful Protein Baking
- Preheat oven to 350°F and grease your pan.
- Whisk dry ingredients: protein powder, flour, baking powder, pinch of salt.
- In another bowl, combine wet ingredients: eggs, milk, oil, and sweetener.
- Fold wet into dry until just combined. Avoid overmixing.
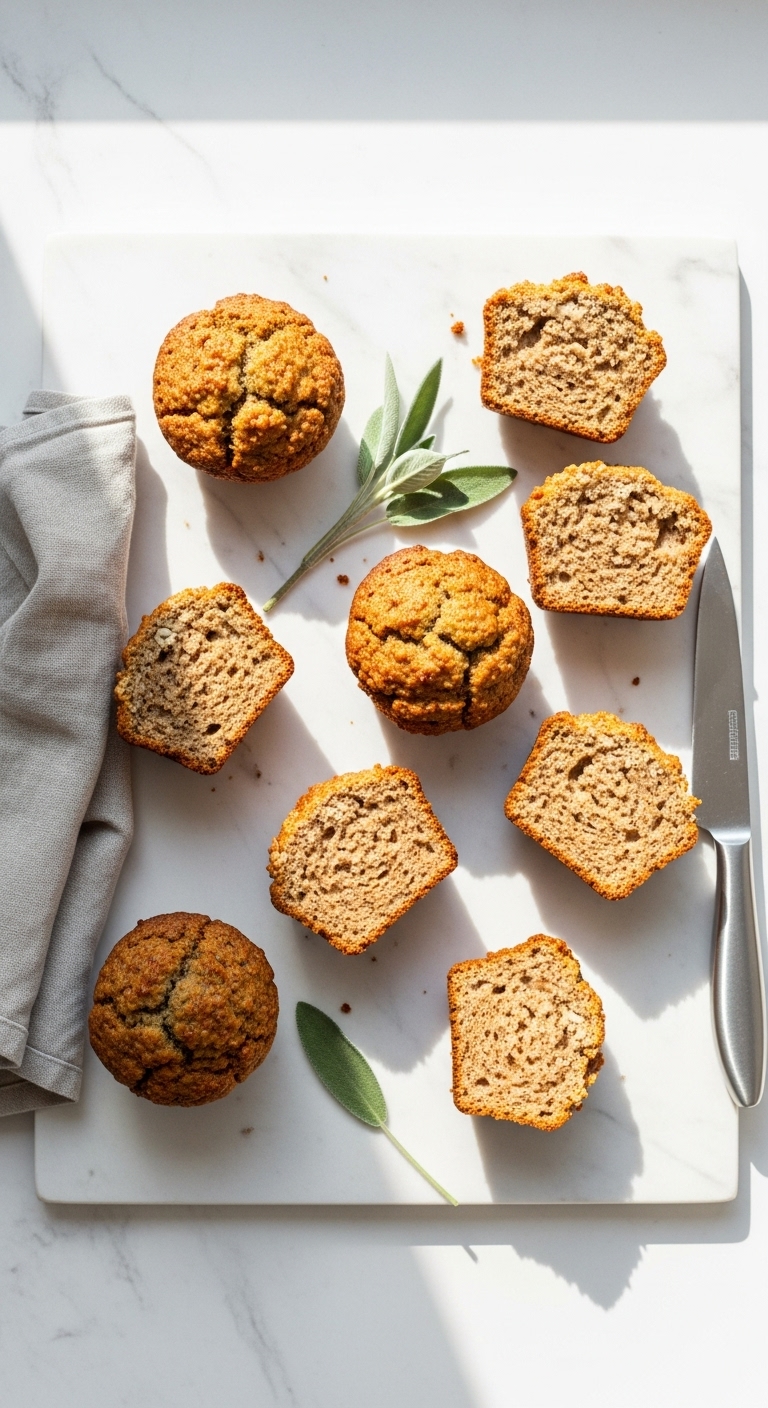
- Pour into pan and bake 20–30 minutes for muffins, 40–50 minutes for loafs, or until a toothpick comes out clean.
- Watch the bake time closely—protein-based batters can brown faster.
- If the top browns too quickly, tent with foil after the first 15 minutes.
- For tender results, add 2 tbsp of yogurt or applesauce per cup of batter.
When you follow these steps, you’ll see the texture change from thick batter to a lightly risen, moist crumb.
Troubleshooting Common Issues + Storage Tips
If your bakes are dense or dry:
- You likely used too much protein powder. Reduce by 10–20% next time.
- Add more liquid: 1–2 tbsp extra milk or oil per 1/4 cup protein powder.
If texture is gummy:
- Use slightly less liquid and fold gently.
- Add 1/2 tsp more baking powder for lift.
Storage and make-ahead:
- Cool completely, then store in an airtight container for 2–3 days at room temp.
- Refrigerate for up to 5 days or freeze singles for up to 3 months.
- Reheat muffins for 10–15 seconds in the microwave for a soft crumb.
Quick swaps and variations:
- Chocolate protein swap: reduce cocoa by half if using chocolate-flavored powder.
- Boost fiber by adding 2 tbsp ground flax or chia.
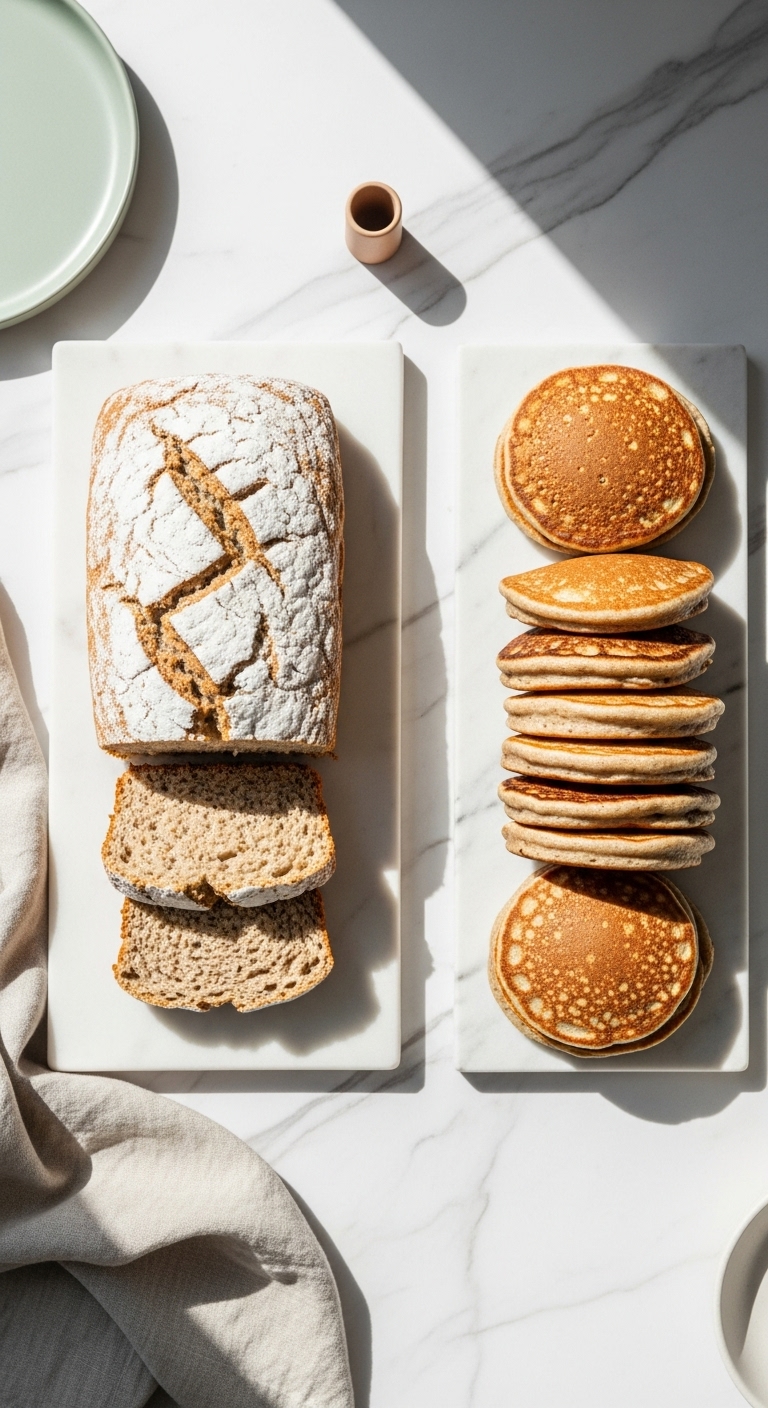
- Make pancakes by thinning the batter with extra milk to pourable consistency.
You’ll get better results each time as you adjust to your powder’s texture and flavor.
You’ve learned the key steps for how to bake with protein powder, from ratios to rescue fixes. Now it’s time to try a simple muffin or pancake recipe using these tips. Pin this guide for your next batch, save it for later, and share with friends who bake. Which tip will you try first? Ready to make this happen? Let’s do it!